
With today’s hybrid and cloud-only infrastructure, it’s common to be running SQL Server in the cloud to support System Center and other applications. Of course, every database should be backed up. In this post, I will cover how to do this quickly and painlessly using Azure Backup without any additional infrastructure.
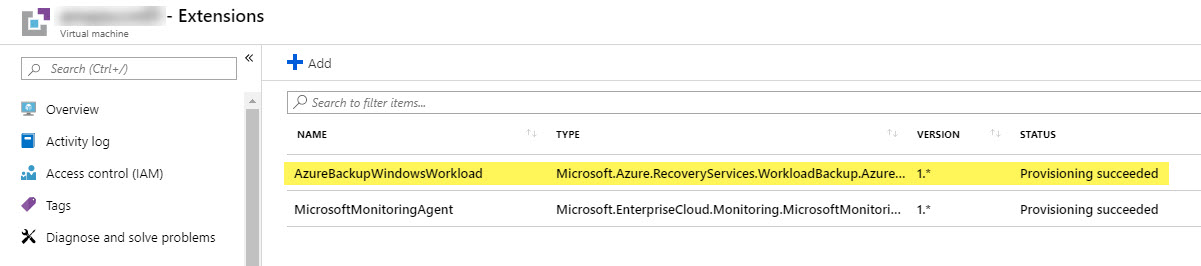
In recent months, Microsoft announced that Azure Backup for SQL Server is moving out of preview and would be generally available to the public. This service uses an extension that is available on every VM running in Azure (pictured below). It will connect to any database instances running inside your VM then use SQL jobs to back up data directly to a Backup and Recovery Services Vault in Azure.
This is my new favorite way to back up SQL in Azure – it’s easy to configure, fast, and reliable.
Requirements
Before we start setting things up, let’s review some considerations first. A full list of official requirements/limitations can be found in Microsoft’s documentation here.
- VMs must be running in Azure and able to access Azure’s public IP addresses
- Failover Clusters, Mirrored Databases, and Database Snapshots are currently not supported
- Only <1,000 files per database is supported
- A single vault can only support up to 2,000 databases
- Maximum database size for Azure Backup is 2 TB
- OS support: Windows Server 2012, 2012R2, 2016
- SQL Server support: 2012, 2014, 2016, 2017 – Enterprise, Standard, Web, Developer, Express
- .Net Framework – All servers must be running at least .Net Framework 4.5.2 for backups to run. And yes, the reboot post-installation is actually required this time.
- Permissions – “NT Service\AzureWLBackupPluginSvc” is required as a login account with sysadmin permissions on your SQL instance to run Azure Backup jobs
Pricing
There is a cost associated with this service, so let’s cover that briefly before diving in. Luckily, it’s fairly simple to calculate using the Azure Backup Pricing page, and it actually comes out quite a bit cheaper than several competing backup solutions. Based on today’s pricing, you would pay $30 per backed-up SQL instance (up to 500 GB) per month for the service, then you also pay for the LRS/GRS data cost, which can vary per region. Let’s look at two examples below:
- A 200 GB SQL instance backed up to an LRS Vault would cost $30/month for the instance, then roughly $4/month in US West for the actual LRS data storage. The data storage cost can vary depending on the data retention and job frequency used in you backup policies. You pay for the data read/write operations as well, but those are typically a fraction of the data storage cost and are quite difficult to estimate.
- A 750 GB SQL instance backed up to a GRS Vault would cost $60/month since the instance is over 500GB, then roughly $27/month in US West for the GRS data storage (not inclduing read/write operations).
You should determine whether LRS (Locally-Redundant Storage) or GRS (Globally-Redundant Storage) works best for your organization’s needs. LRS is redundant within an Azure region – an actual local copy is made inside the Azure datacenter. GRS uses Azure’s dark fiber network to create an additional copy in an entirely different region on another continent, but you cannot choose the secondary region and the cost will double. The most critical data should be backed up to a GRS Vault or through a secondary backup tool.
Vault Setup
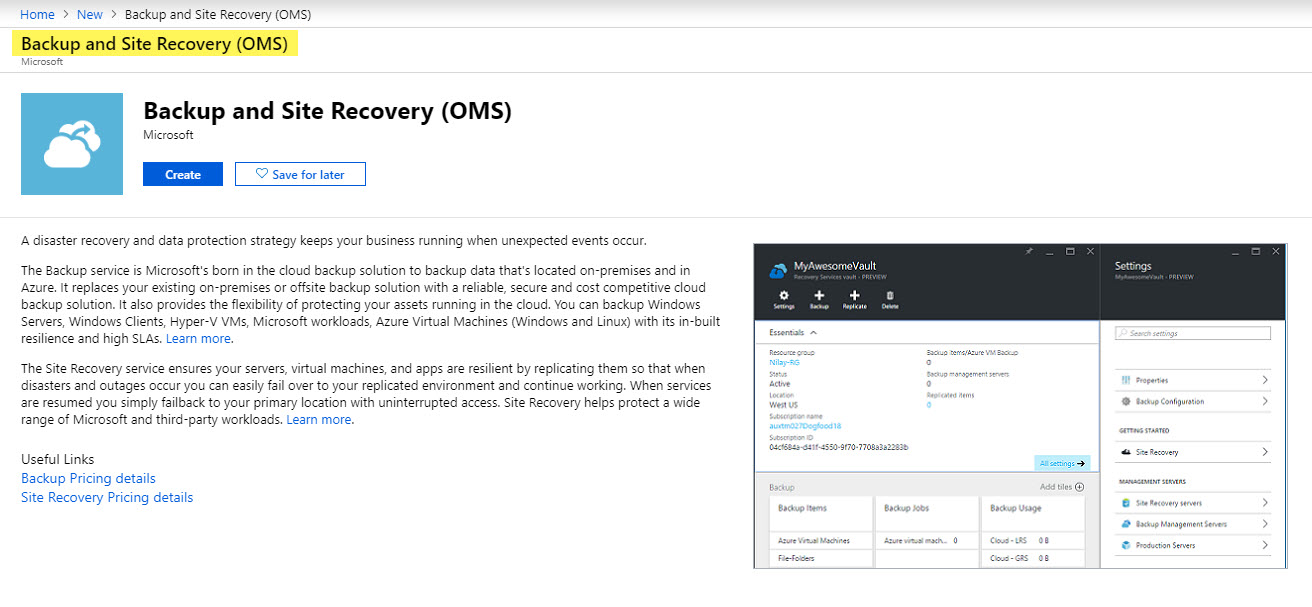
The Vault configuration is straightforward, though the name can actually be a bit difficult to find. Search for “Backup and Site Recovery” if you are unable to find the proper resource to deploy.
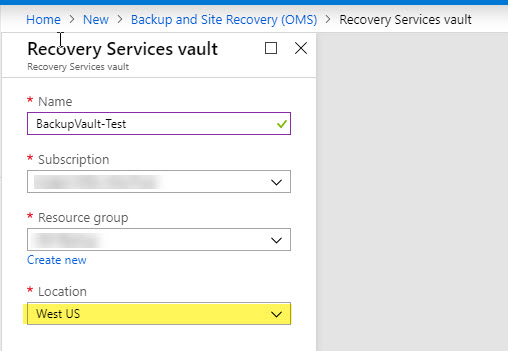
During the new Vault deployment, only a few settings are available. Choose a name and resource group, but choose your location carefully. The Vault must live in the same region as your VMs that are being targeted for backup. For those using multiple regions in Azure, you will need a separate Vault in each region to support backups.
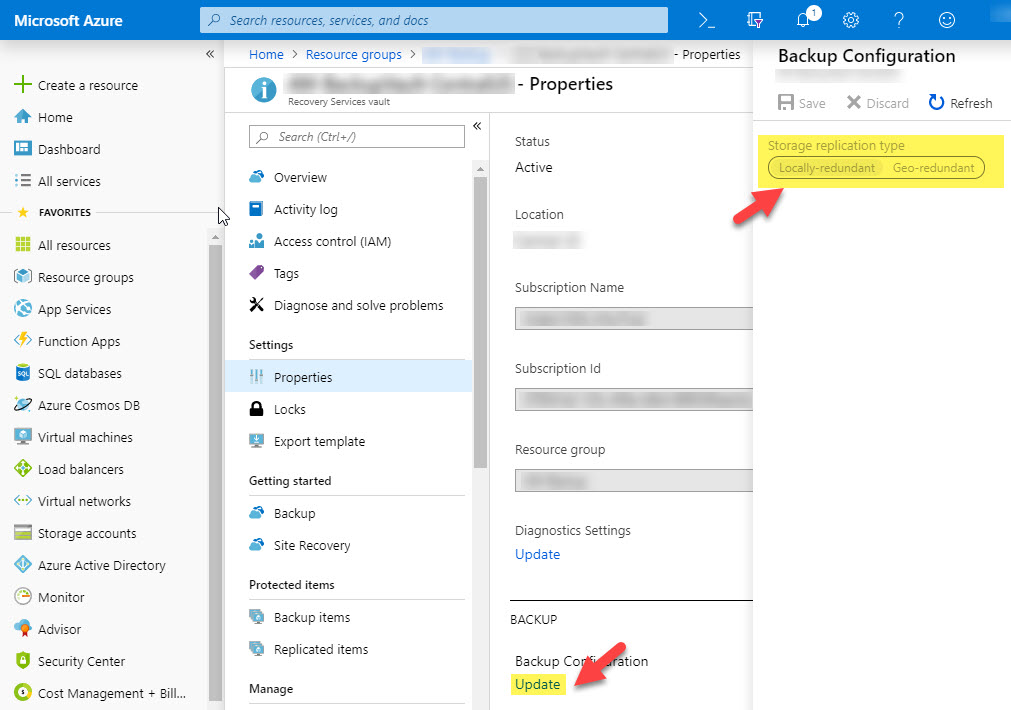
Another setting that is often overlooked is the LRS/GRS data configuration on the vault. This setting cannot be changed after any backup jobs are created. As of the writing of this post, GRS is set by default, but you can change it to LRS for lower-cost data storage. This is a Vault-wide setting, so you may need multiple Vaults if you have varying data redundancy requirements.
SQL Backup Policies
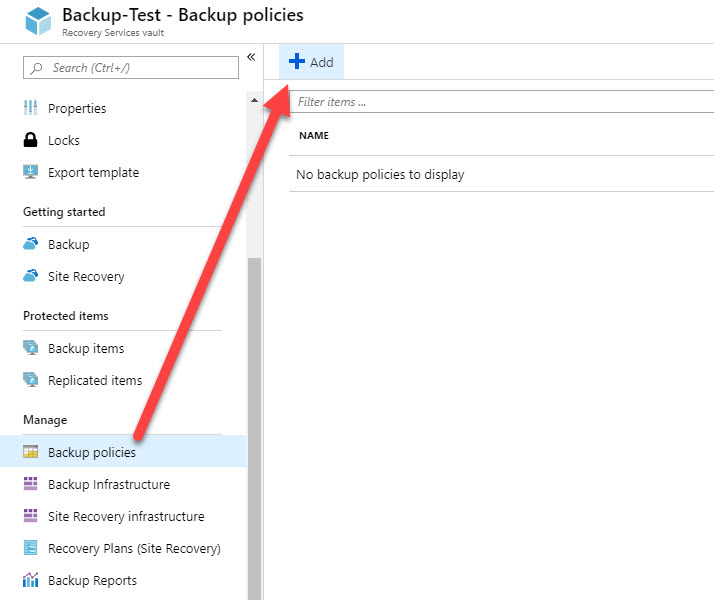
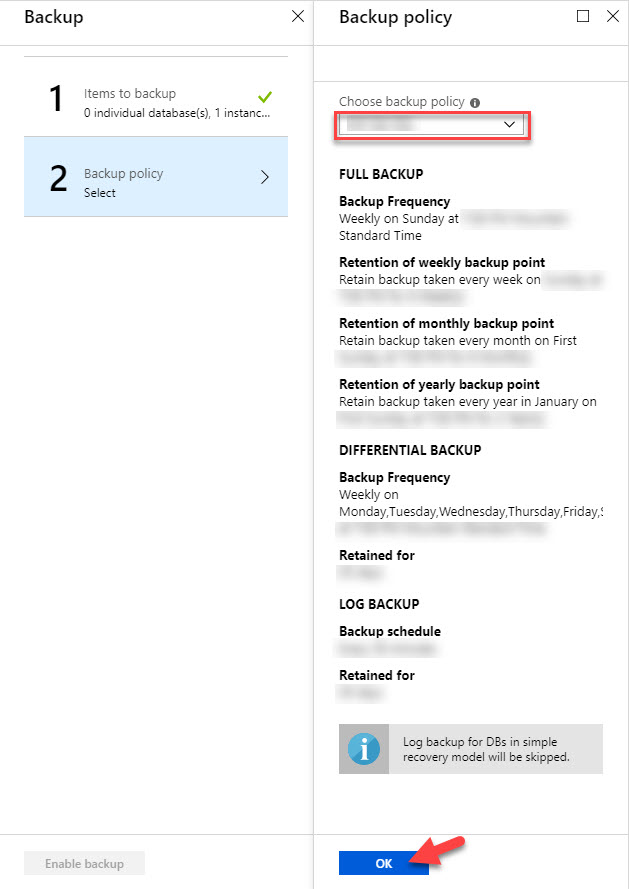
Now that the Vault has been created, let’s briefly review the backup policy used in this example. To create a new backup policy, go to Backup Policies on your Vault, then choose Add.
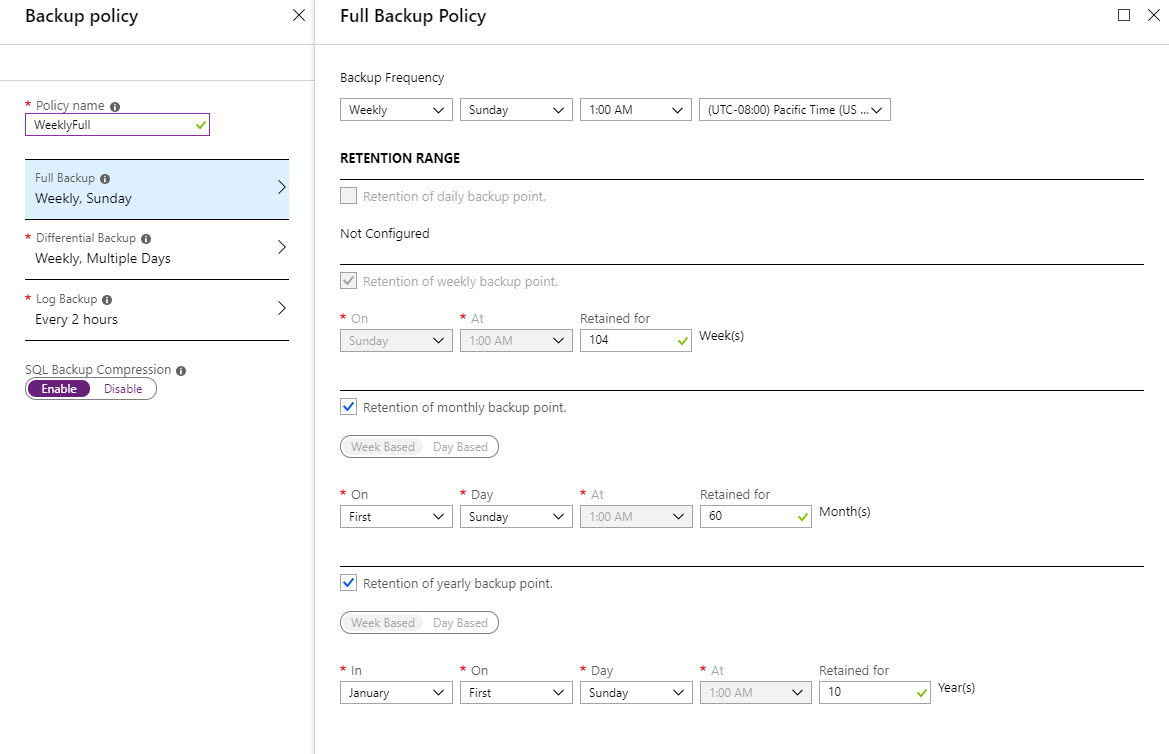
Configure your desired Backup Policy settings. You can schedule full backups, differentials, transaction log backups, and SQL backup compression here. These particular settings are used only for this example – your organization’s backup policy will likely be different. When finished, choose Create to save the policy and make it available for backups.
SQL Backup Configuration
Make sure that all prerequisites listed above are met on your SQL Server, including the .Net Framework. Your Azure VM must be powered on and accessible.
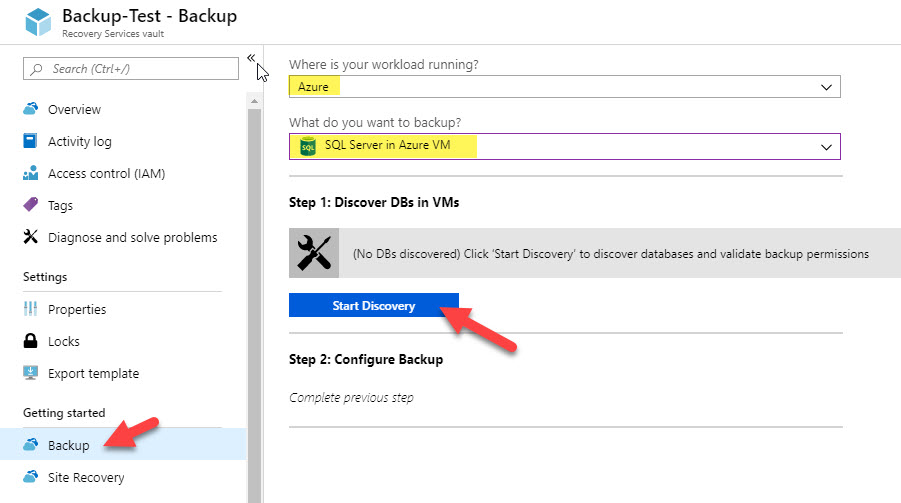
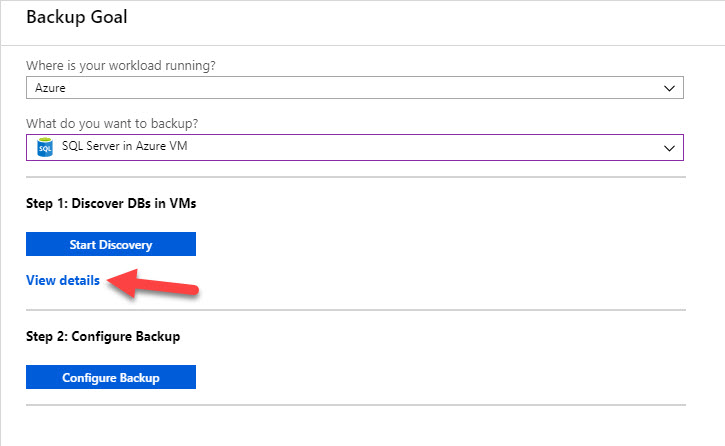
Open your Vault on the Azure Portal and choose Backup under Getting Started. From here, you can choose Azure for your workload location, and choose SQL Server in Azure VM for your backup item. This will present an option to Start Discovery. You must run this discovery step to search for VMs in your Vault region that are eligible for backup.
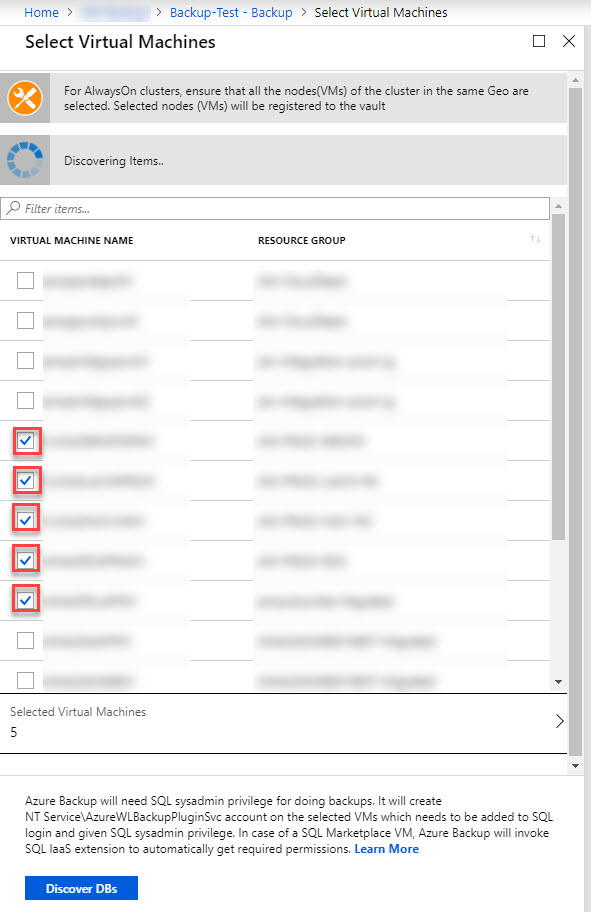
In the Discovery blade, you can select up to 10 SQL Server VMs that you would like to discover. If a targeted VM is not listed, it is probably running in a different region from your Vault or it might already be discovered or protected. Once you run discovery, the AzureBackupWindowsWorkload extension will be added to the VM in Azure if not already present, and it will attempt to discover all SQL instances running on the system.
“NT Service\AzureWLBackupPluginSvc” will be added as a login to any SQL Server instances on your discovered VMs – you will need to grant this account sysadmin permissions to your database instance to discover databases and run Azure Backup jobs.

Once the account permission has been added, you can go back to your Vault in the Azure Portal and choose View Details to see the list of servers that have been targeted for discovery.
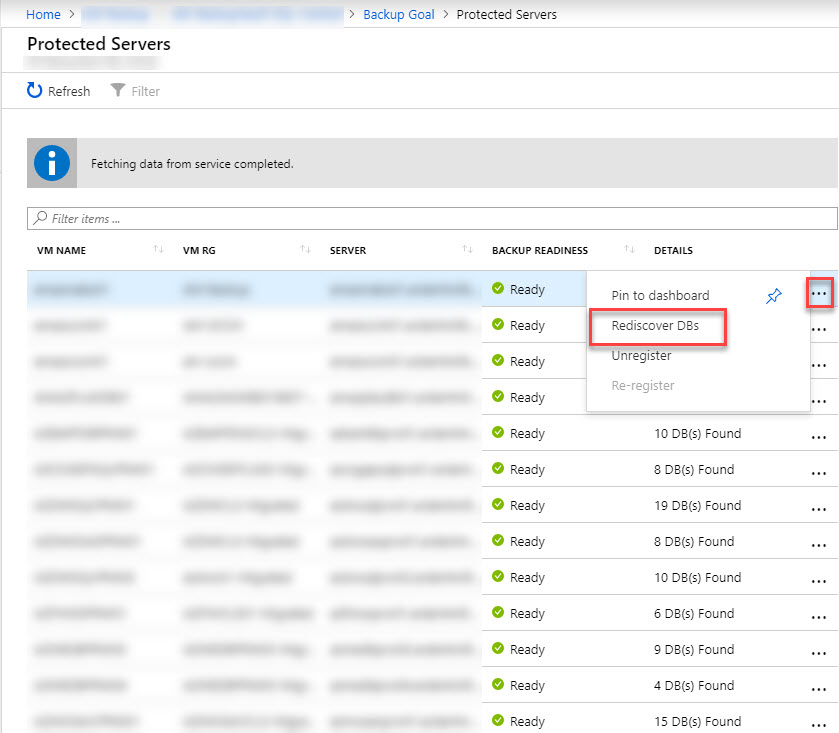
You will need to rediscover DBs for any servers that you added the “NT Service\AzureWLBackupPluginSvc” permission for. This discovery only takes a few minutes to run, then you can refresh the blade and find the “DB(S) Found” status. You may see one of several errors on the VM details page on your first run – check the error details to see how to fix any errors. A few common errors include .Net Framework missing (or no reboot since install), permissions missing on the SQL instance, or no databases found on the instance.
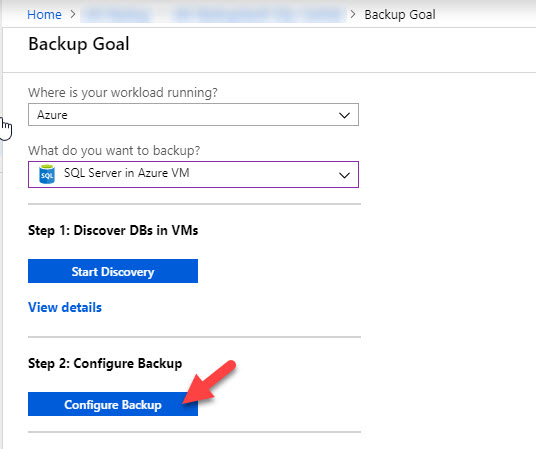
When you are ready to add your discovered SQL instances to Azure Backup, go back to the Backup Goal blade and choose Configure Backup.
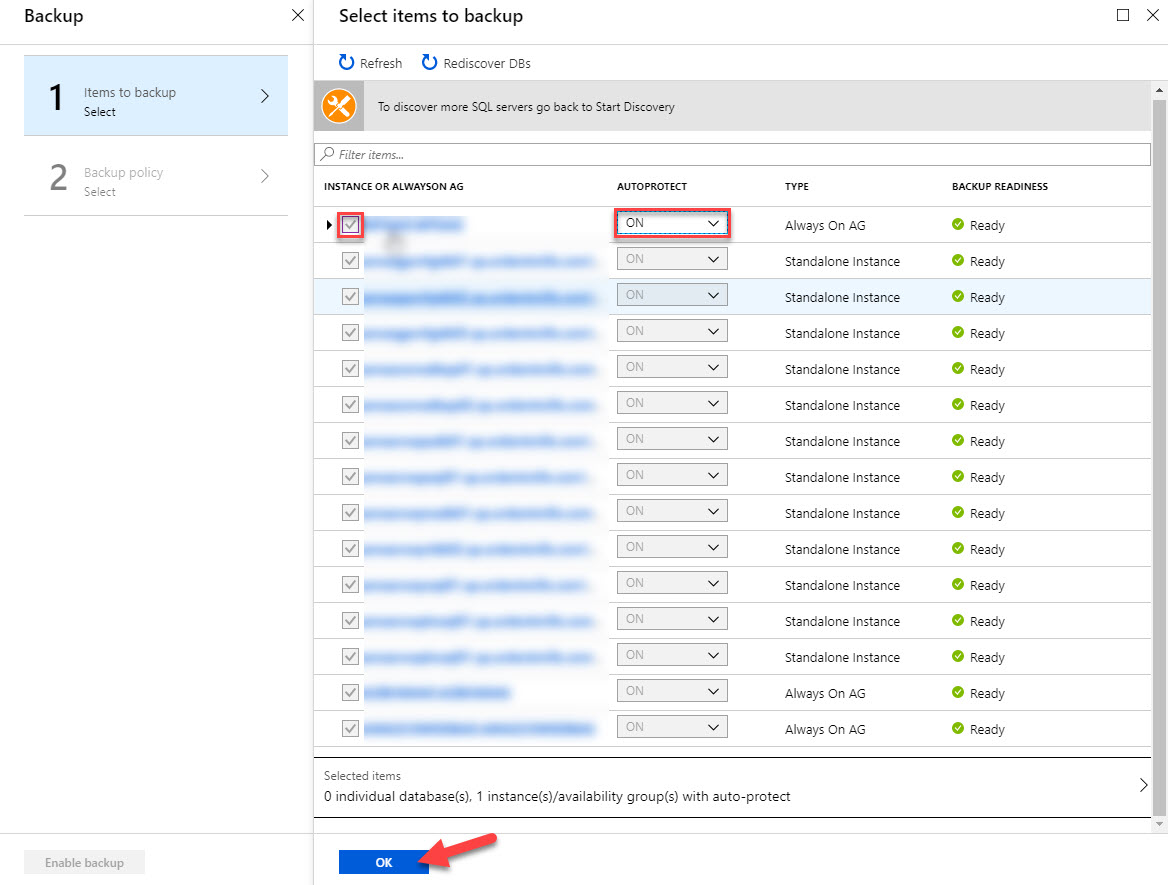
Check the box for the newly discovered SQL Server instance or Always on Availability Group. I would also recommend using Autoprotect – this will automatically backup all databases on the instance and any new databases that are added later. If you only want to backup certain databases, you can expand the instance name and select the individual databases desired for protection.
Now you can apply the backup policy that was created previously and enable backups.
Azure Backup Management – Status, Restores, and Alerting
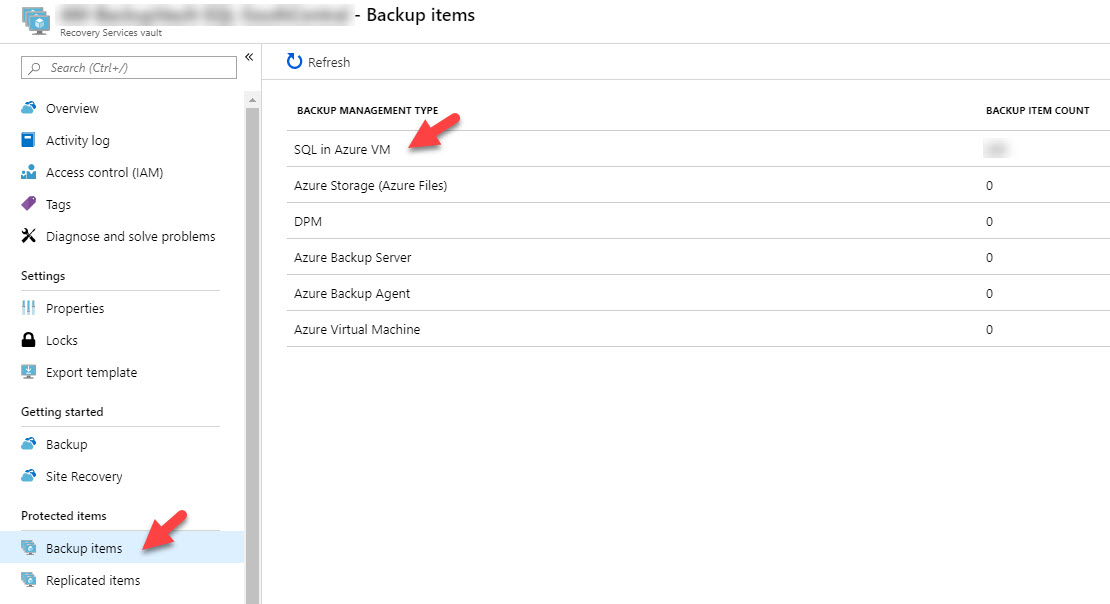
There is a lot of useful data on your backup and restore jobs on the Vault in the Azure Portal. To see your the status of backup items, open Backup Items on the Vault.
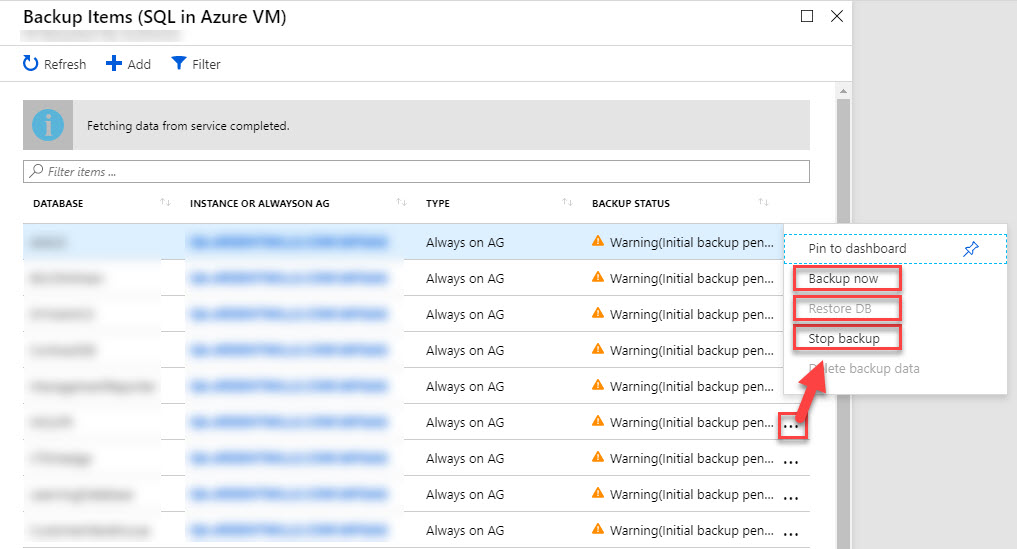
You can view the backup status of each database for every protected instance in this blade. If you recently added databases or if the first full backup hasn’t completed yet, you may see an initial backup pending status like below. You can also start backup jobs manually here, run database restore jobs, or stop backup jobs from here.
You can view the status of backup jobs from the Azure Backup blade, as well.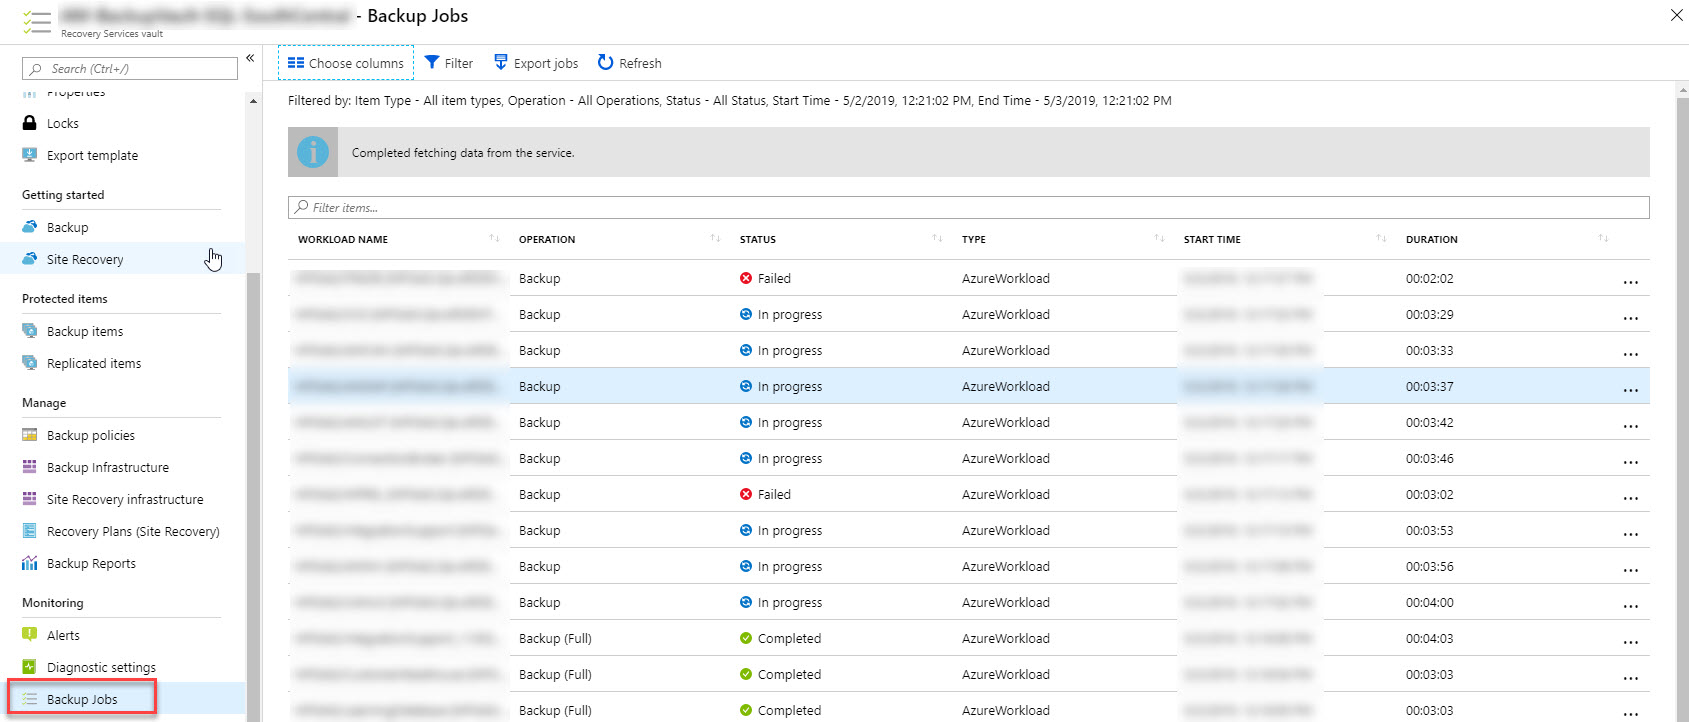
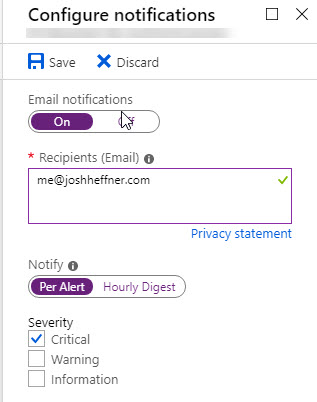
You may also find it useful to view Backup Alerts, from which you can configure email notifications.
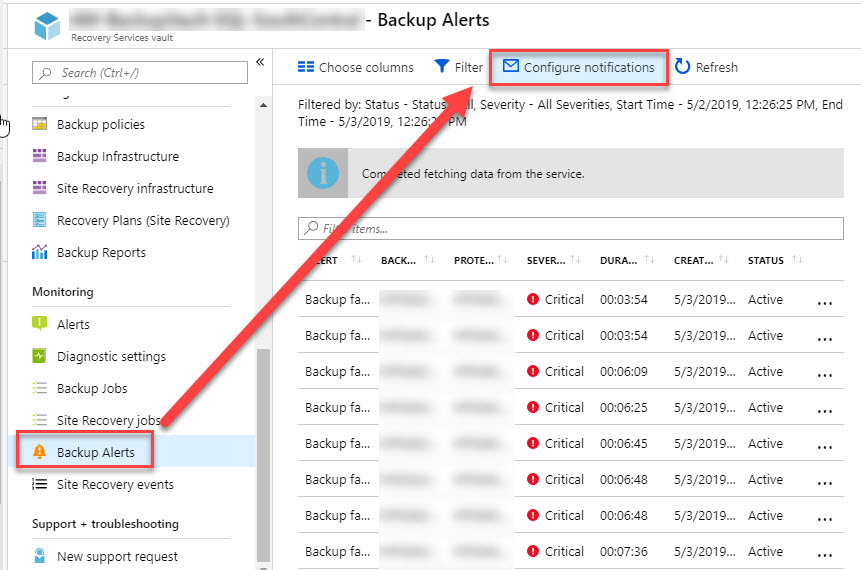
You can configure Per Alert or Hourly Digest emails from here.
And that’s all there is to it!